¡El primer año de fotografía es, sin duda, el mejor! Descubre por qué y cómo estos consejos pueden ayudarte en tu camino.
Primer año = Mejor año
El primer año de fotografía siempre será el mejor, hay mucho trabajo y dolor involucrado en la construcción de los conocimientos básicos para tomar buenas fotos, sin embargo, una vez que se adquiere una habilidad particular, la recompensa fructífera es el doble de emocional en comparación con los dolores de crecimiento.
No te dejes encasillar
Una de las partes más intrigantes de la fotografía son los diferentes tipos de callejones disponibles, casi me recuerda a mi época viviendo en Melbourne, donde hay numerosos callejones en la ciudad que esconden cafés y restaurantes increíbles. En la fotografía hay numerosos estilos y puede ser ventajoso explorarlos todos para descubrir lo que es adecuado para ti. Por ejemplo, hay fotografía de retratos, paisajes, vida salvaje, bodas, calle, boudoir. La otra faceta es el uso de diferentes tipos de cámaras que producen una sensación única en la foto, es decir, la última cámara digital producirá fotos nítidas de alta calidad, una cámara de película Polaroid le dará un toque vintage a la foto, también hay drones que pueden producir increíbles tomas aéreas.
Con el tiempo, un fotógrafo se especializará en una o unas pocas áreas, aunque tener experiencia en muchos campos diferentes ayudará con el aprendizaje general, ya que cada tipo de fotografía presenta sus propios desafíos.

Agregue texto de descripción para brindar más información a sus clientes.
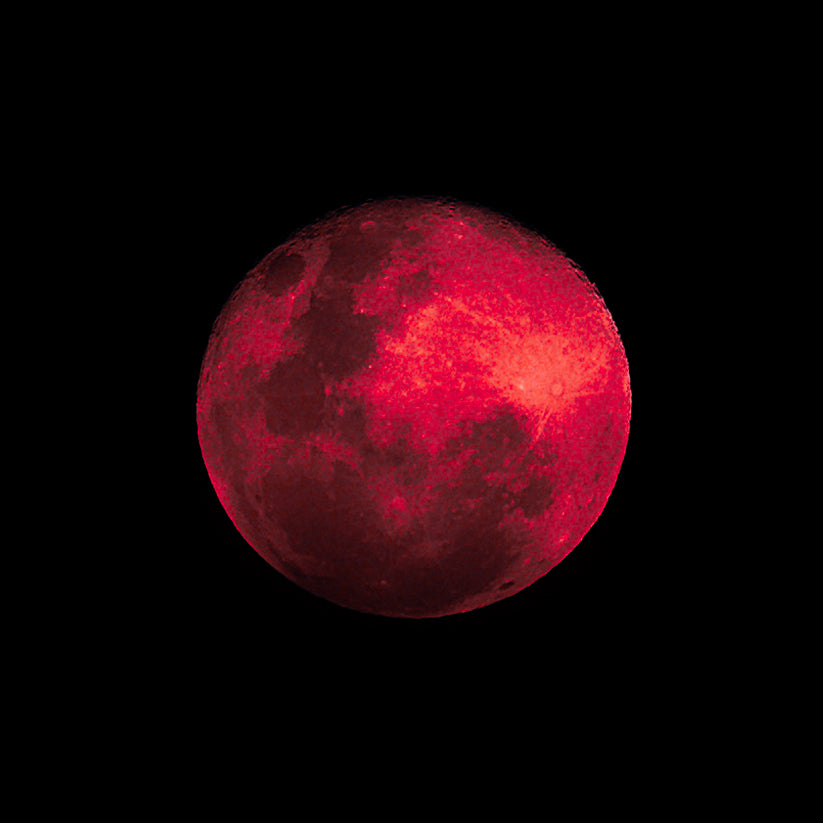
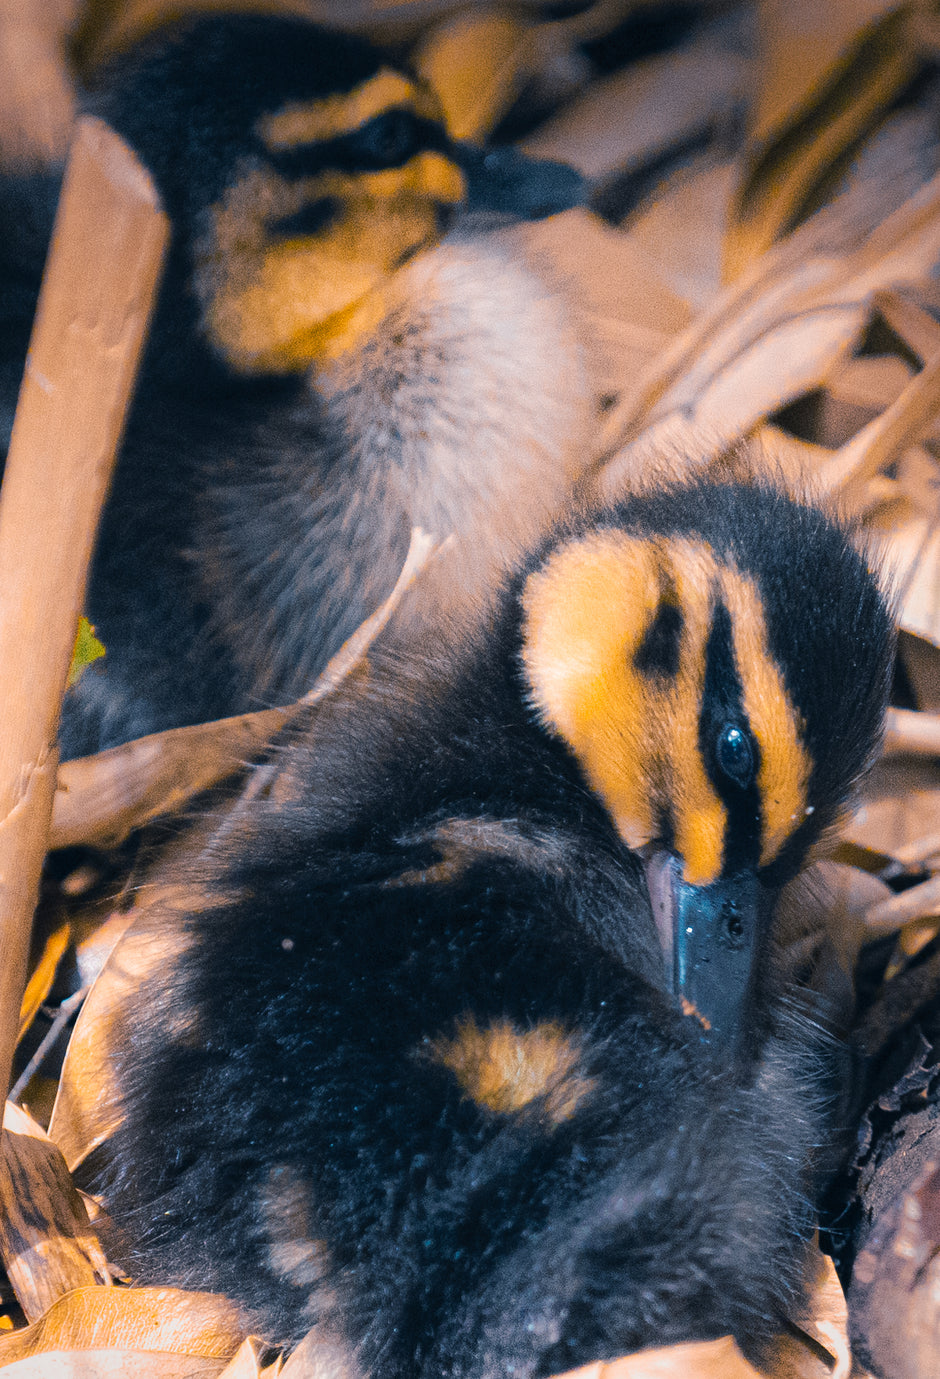
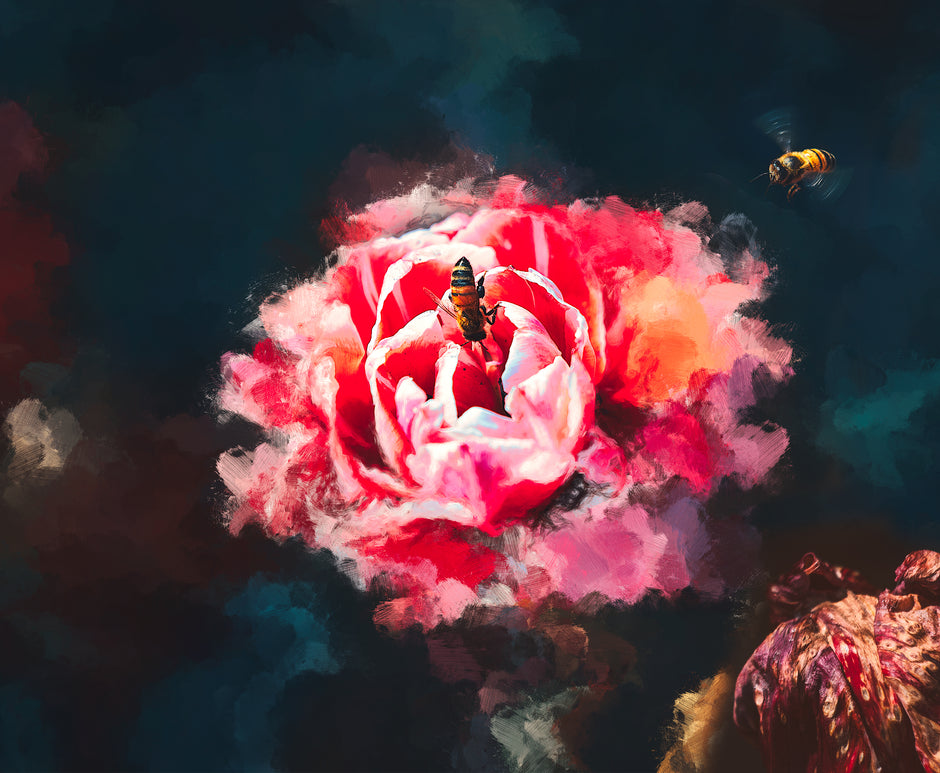
Crea tus propios filtros de fotos
Coger una cámara profesional y sacar fotos es más difícil de lo que la gente se imagina, y con la exposición de fotos de calidad que cuelgan en las redes sociales es fácil querer acelerar y tomar atajos para conseguir el éxito, lo que puede acabar perjudicando en lugar de ayudar. Lightroom es el software de edición más popular cuando se utilizan ajustes preestablecidos de fotos: un ajuste preestablecido es un conjunto de ediciones creadas por el usuario en una foto, donde las ediciones se guardan y se utilizan en fotos futuras. Lo que me benefició mucho fue no comprar ajustes preestablecidos de fotos y pasar por el minucioso esfuerzo de resolver problemas con todas las opciones de edición para crear ajustes preestablecidos que sean exclusivos de mi fotografía.
Puede haber casos en los que comprar ajustes preestablecidos en línea pueda ser beneficioso: un fotógrafo de bodas que entrega cientos de fotos a un cliente puede encontrar más eficiente tener una combinación de ajustes preestablecidos comprados y creados por él mismo.
La desventaja de comprar pesetas es que no se aprende. Una opción un poco mejor que comprarlas es aprender con los tutoriales de Toutube que enseñan cómo crearlas. Sí, no son de creación propia, pero ver el tutorial te dará una idea general de lo que está sucediendo y por qué esta foto recién editada tiene el aspecto que tiene.
Disfrútala
Como ya hemos dicho, el primer año es el mejor. Es el año de más aventuras, en el que se descubren diversas técnicas de fotografía y se adquieren nuevos estilos de edición.
El primer año es cuando un fotógrafo desarrolla una identidad o estilo a través de su fotografía. Un estilo no es algo que se planifica, sino que surge de manera natural, ya que la mayoría de las fotografías generalmente pasan por un proceso de edición similar al que funciona para el fotógrafo.
Lo importante aquí no es ahogarse en la miseria cuando tus fotos no se ven tan bien en comparación con las de fotógrafos conocidos en Instagram, sino disfrutar el viaje y con cada paso que das hacia adelante, eventualmente mirarás hacia atrás y pensarás "wow, he recorrido un largo camino".
Sonríe😀
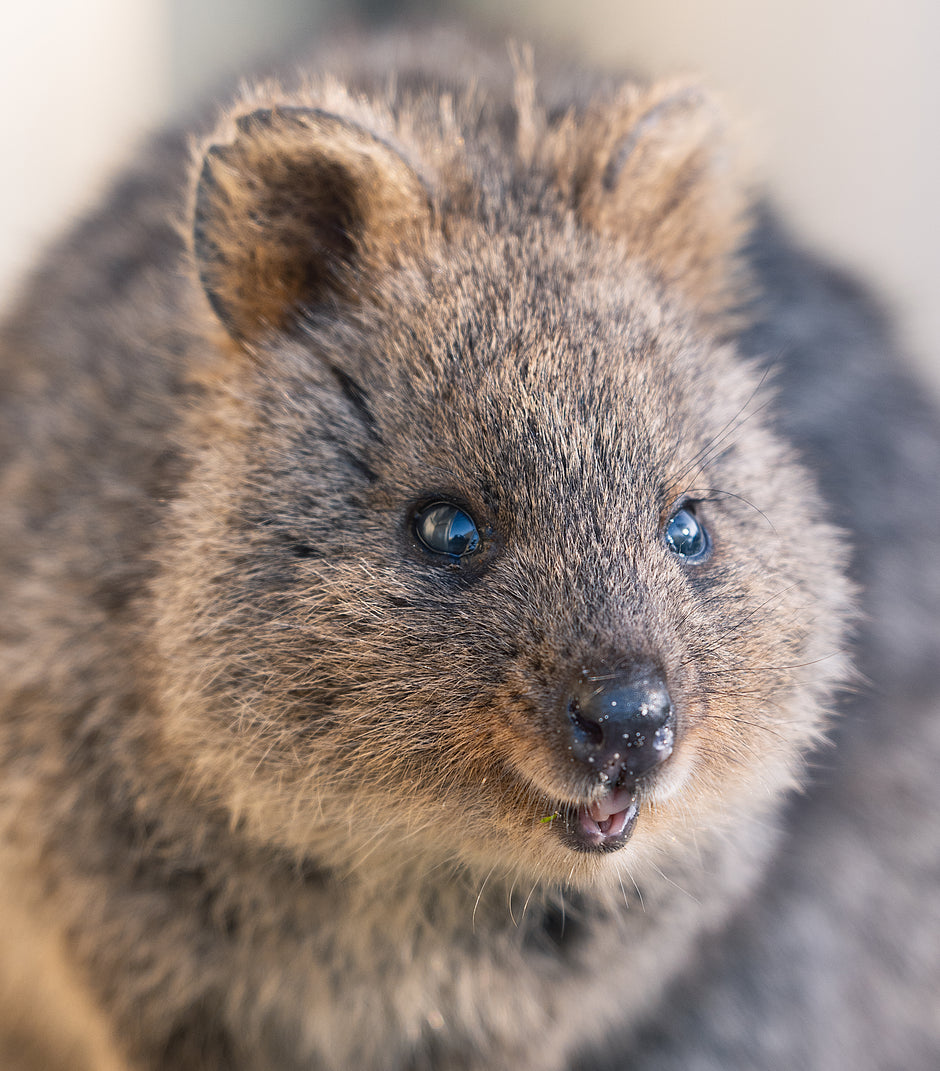
Sufriendo hasta la victoria
La primera vez que escuché esta frase fue cuando estaba viendo un partido de fútbol y el comentarista señaló que el equipo que había ganado el campeonato mundial anteriormente seguía haciéndolo bien, sin embargo el camino hacia el éxito siempre es difícil, casi como si "disfrutaran sufriendo para ganar".
Esto se aplica a mis éxitos en la fotografía, ya sea que me comprometa a disparar todo el día en lugar de terminar más tarde por la tarde; cuanto más tiempo esté alguien tomando fotos en la naturaleza, más probabilidades hay de que salga con una foto de 1 entre 1000. La lucha por resolver una técnica de edición en particular, pero después de varios intentos, simplemente no se ve igual que la persona que la mostró en YouTube. El obstáculo más difícil y más difícil de superar que encontré en mi primer año fue dominar "dodge & burn" en Photoshop. Esto implica emparejar la piel de alguien en Photoshop aclarando las manchas oscuras y viceversa usando un ajuste de curvas. Era casi imposible salir con un aspecto pulido y parecía que solo podía dañar la imagen en lugar de mejorarla. Al final, el sufrimiento se convierte en éxito y creo que este rasgo separa a los mejores fotógrafos del resto.
El modo manual es fácil
Aprender a disparar en modo manual con una cámara profesional es como intentar conducir un coche manual: lo que parece fácil desde lejos se siente más difícil al volante. Es tentador disparar en modo automático, pero la cámara siempre tendrá el control de la toma, a diferencia de la mente creativa e inteligente del fotógrafo.
La clave para disparar en modo manual es aplicar la regla de "duplicar la velocidad de obturación" según la distancia focal. Cuanto más zoom se utilice, mayor será el movimiento de la cámara. Por ejemplo, al disparar a 200 mm, la velocidad de obturación ideal sería 1/400 fps. Esto es ideal para sujetos relativamente estáticos; al capturar el movimiento de un animal o un coche en movimiento, puede requerirse una velocidad de obturación de 3x o 4x (o superior) a la distancia focal, dependiendo de la velocidad del sujeto.
Con las cámaras recién lanzadas que incorporan IBIS (estabilización de imagen integrada), es decir, la tecnología de la cámara compensa parcialmente la vibración, lo que resulta en fotos más nítidas. Es posible ajustar el obturador ligeramente por debajo de 1/400, como en el ejemplo. Esto puede resultar útil en condiciones de poca luz, donde se desea reducir la velocidad de obturación para compensar la falta de luz. Si se trata de una foto inolvidable y el sujeto está quieto, puede ser más seguro duplicar la velocidad de obturación.
Una vez que se configura la configuración de fotogramas por segundo, los otros dos son fáciles de seleccionar: la apertura y el ISO. Lo ideal es mantener el ISO lo más bajo posible y aumentarlo solo como último recurso cuando no haya suficiente luz en la toma.
La apertura puede ser un poco complicada. Si se requiere poca profundidad de campo, f4 o f2.8 (posiblemente menor) es ideal. Si se necesita enfocar el fondo, una apertura cercana a f8 es ideal. Al disparar con poca luz, un diafragma más bajo ayudará a captar más luz, lo que permite mantener un ISO bajo y evitar el ruido visual que produce un ISO alto.
Gracias por tu tiempo y esfuerzo :)
Comenta a continuación en inglés, francés, español u otro idioma sobre tu experiencia, opinión o alguna pregunta que puedas tener.

